IAM Role Creation
The next step is to connect your AWS account to Antimetal. This is done by creating an IAM role in your AWS account that Antimetal can assume to access your billing data. To learn more about the Cross Account IAM Role that Antimetal uses, see this page.
Step 1: Connect via CloudFormation
You will be prompted to Connect account via CloudFormation. When you click this button, you will be taken to a new tab. If you are not already logged into AWS, you will have to login.
If you have multiple accounts in an AWS Organization, you will need to connect each account individually. In this case, you should connect your management account to Antimetal first.
Step 2: Create CloudFormation Stack
In the new tab, a CloudFormation Stack template should be displayed. This stack creates an IAM role and corresponding policy that grants Antimetal billing-layer access to your AWS account. The stack template and policy can be found here.
You do not need to fill out any fields. Just click the checkbox at the bottom which says I acknowledge that AWS CloudFormation might create IAM resources with custom names. Then click Create Stack.

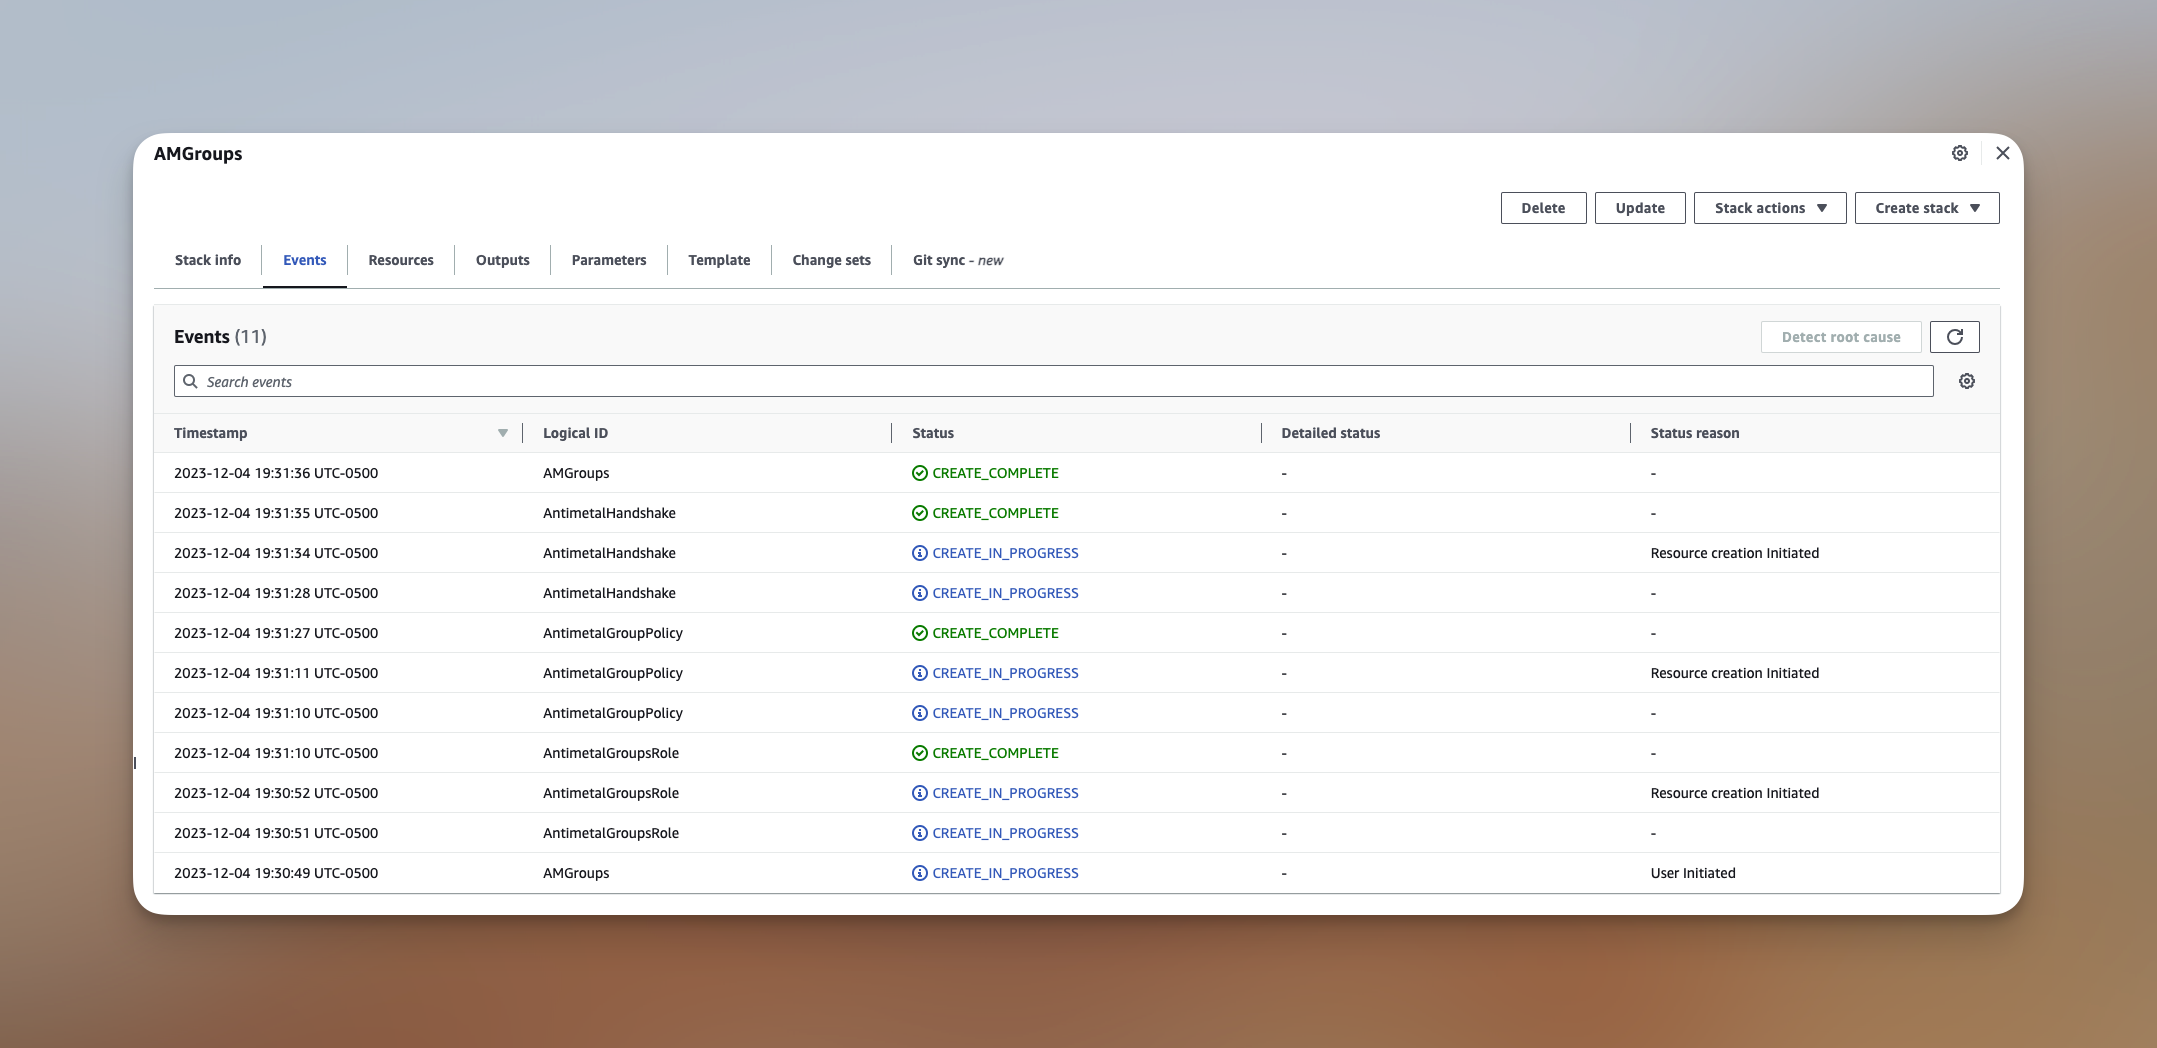
Step 3: Wait for Stack Creation
The stack should finish with CREATE_COMPLETE in 30-60 seconds. You can click the refresh button to check the status.
You should see 3 resources created:
AntimetalGroupsRoleAntimetalGroupsPolicyAntimetalHandshake
Step 4: Return to Antimetal Onboarding
Return to the Antimetal onboarding page. You should now see that your account has been connected.
Step 5: Repeat for All AWS Accounts
If you have more AWS accounts, repeat the above steps for each one.
You may have to open other browser windows to log into each AWS account separately.